
How to create a fitness trainee website: Step-by-step tutorial
Looking for a way to create a fitness trainee website using free tools in 2023?
A fitness trainee website will be an easy way to engage and interact with your customers. Using your website you can easily reach your clients and offers them your facilities and other things. Creating a successful digital presence is a long-term process but the result will grow your business to the next level.
Creating a fitness trainee website can help you stand out from the competition and give you the advantage needed to achieve your business objectives. Regardless of whether you’re a trainer, instructor or owner having a professional fitness trainee website can aid in expanding your business and demonstrating to potential clients what you have to offer.
Why do you need a fitness trainee website?
It doesn’t matter how fantastic you are if nobody knows about it. While you may dislike sitting at a desk, it’s crucial to acknowledge that potential clients are searching online for their next workout, and you must be present there to engage them.
This is where a fitness website becomes valuable. Your website works as a marketing tool and brand for you, informing potential clients about your features, services and facilities. A well-designed website can also simplify your payment and scheduling processes, enabling you to concentrate on what you enjoy: working with your clients.
Create your fitness trainee website in 6 easy steps
- Picking a name
- Signing up for a host
- Install WordPress
- Install the Ayyash theme and Ayyash Studio plugin
- Customize theme
- Replace content
Picking a name
Before creating your website the first thing you need to do is to choose a name for your website (domain name). There is no such thing as a wrong domain name, but while choosing a domain name you have to be very careful. Before choosing a domain name you need to consider many things.
Pick a name that can last long: Pick a domain name in a way that if you want to change gear you can use the same domain. Suppose you set your domain name as “FitnessAsia.com” and after a few times, you left the area and open your gym in another part of the world like somewhere in Europe. Then the domain name won’t make any sense and you may fail to connect with your users. If you want to make your brand international then the domain name should not be regional.
Avoid certain words: There are so many gym and fitness websites available and they are good at it. You need to research your keyword and try to avoid certain words that are already taken by popular gyms or fitness centers. Try to make the domain unique.
Keep it simple and short: A short and simple domain name is easy to remember and find out. Long domain makes users confused. If users need to understand the meaning of your domain name then you lost them. So make it simple and short and focused.
Signing up for a host
When your domain name is selected the next step is to register it and purchase hosting services to make your website online. There are different local and international hosting providers to choose from. Every hosting providers offer a variety of features. However, before making your choice, ensure that the hosting provider offers free SSL certificates, that show the users that your website is completely secure. Don’t forget to check your hosting company’s customer service too.
Install WordPress
After finalizing your website’s domain and hosting, the next step is to install WordPress to manage its content. WordPress is the CMS that will power up your website.
The installation process for WordPress is easy and simple. Once you’ve purchased the domain and hosting, the hosting provider will provide you with login credentials for your hosting panel. Use these credentials to Login to your hosting control panel and scroll down to find the WordPress Manager by Softaculous option under the Software section.
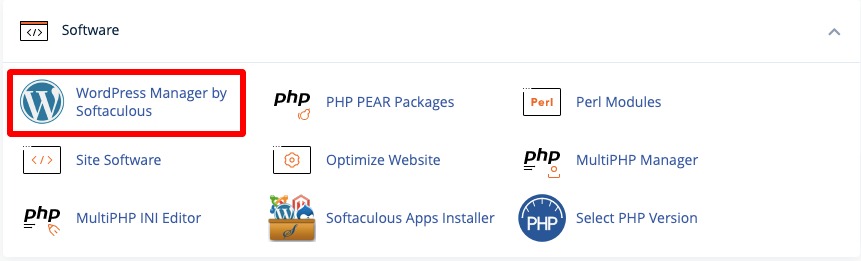
Click on it and it will navigate you to the WordPress installation page. Now click on the Install button to install WordPress.

Now you need to choose the installation path. You can install WordPress in the main domain or you can create a subdomain too. You can choose the WordPress version too. After that, set the site name and site description. Now add the admin username, password, and email.
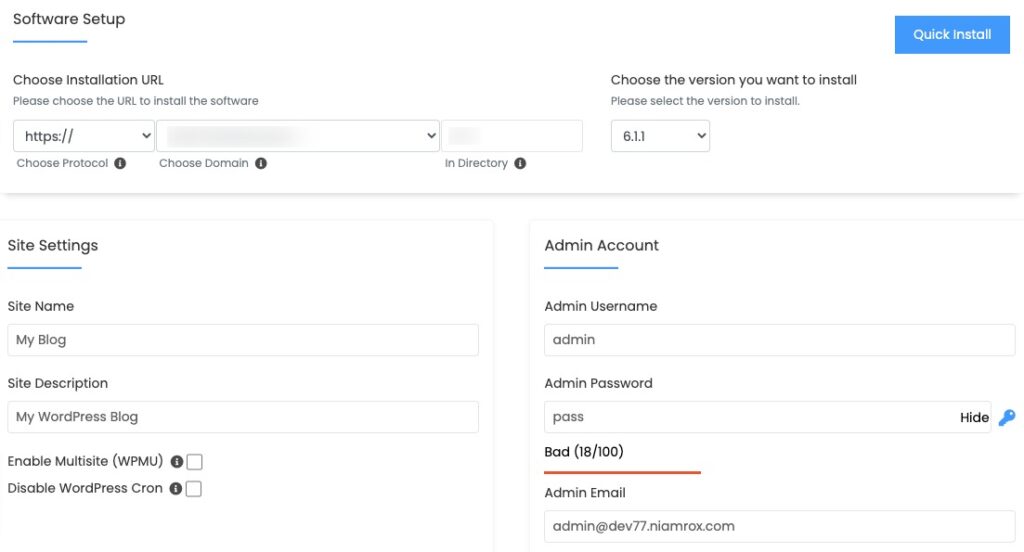
There is also an advanced option available to configure but just leave them as it is, for now, scroll down and click on the Install button and it will install the WordPress on your domain. It also provides you with the administrative URL to log in to your WordPress website.

Install the Ayyash theme and Ayyash Studio plugin
After successfully installing WordPress you now need to install the theme and required plugin. By default, WordPress activates the Twenty Twenty theme. The theme is good but it won’t be perfect for the Fitness trainee website you look for.
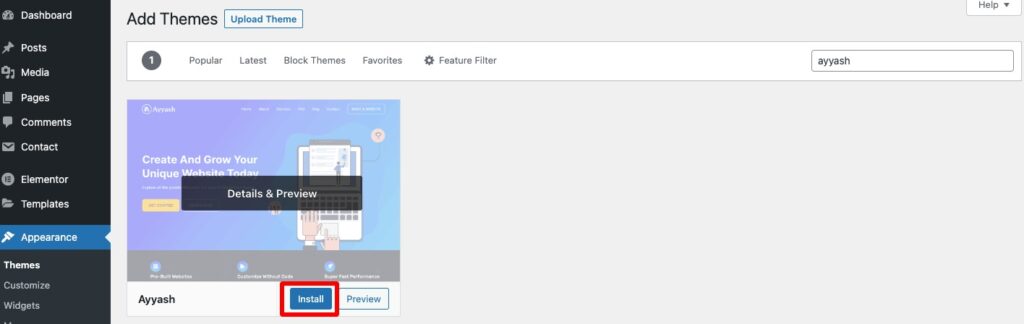
Installing the Ayyash WordPress theme is quite easy and straightforward. Login to your WordPress admin dashboard, navigate Appearance > Themes > Add New, and search for the Ayyash theme. Install and activate the theme.
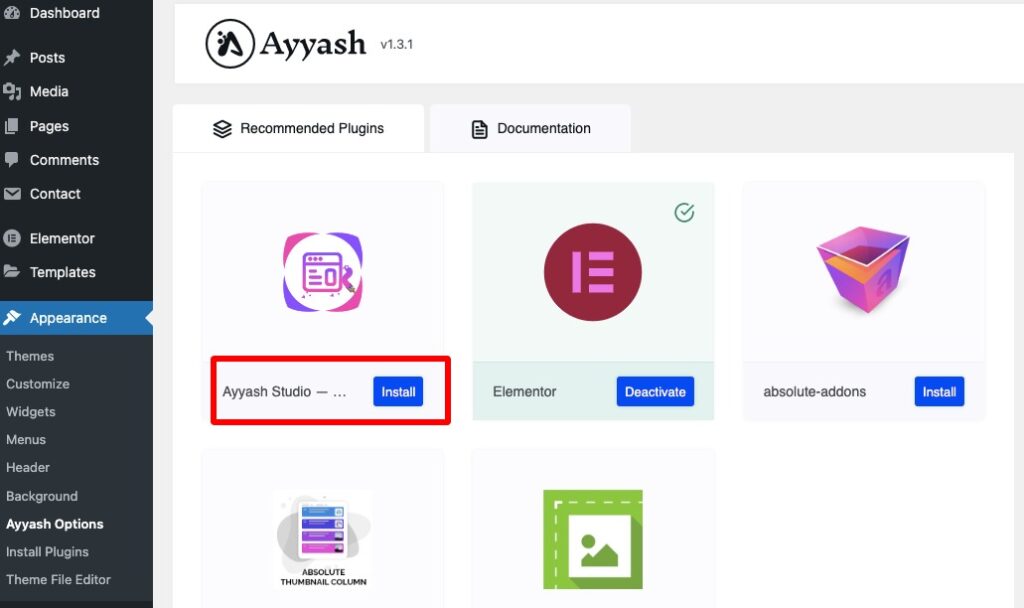
After successfully activating the Ayyash theme, move to the Ayyash Option page. Now install and activate the Ayyash Studio plugin.
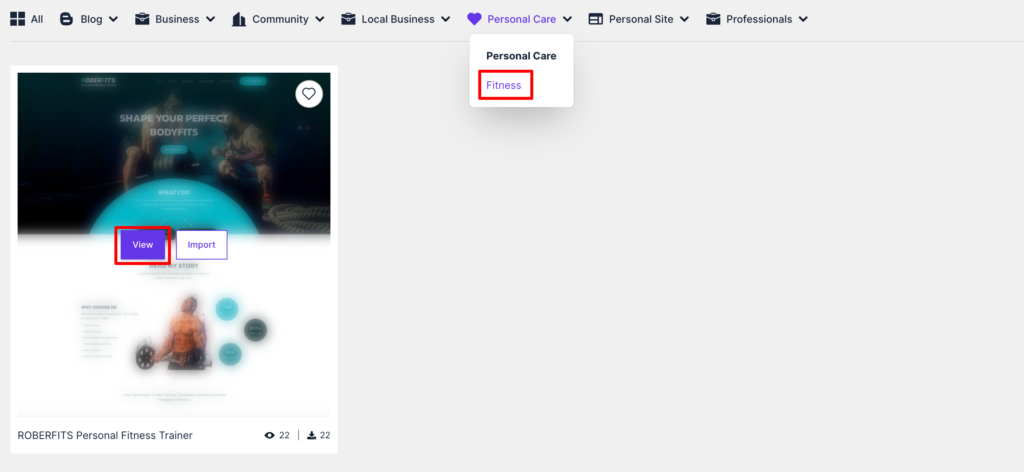
After activating the Ayyash Studio plugin navigate to the Ayyash Studio page to import a ready-made template. Here you can see a bunch of ready-made templates which support the Elementor page builder. Other page builder support will be coming soon.
You can browse all the templates or for fitness trainees, select Personal Care > Fitness filters. Click on the View button to see the demo of the template you want.
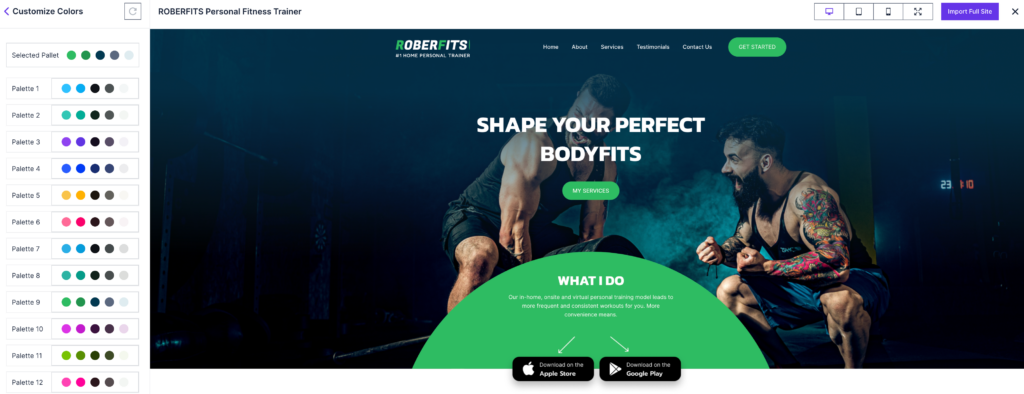
Now you can view the demo and customize the template to see how it looks. First, you can upload your own logo and set the logo width.
After that, you can customize the color of the template. There are fifteen color palettes available. You can choose any color that suits your brand.
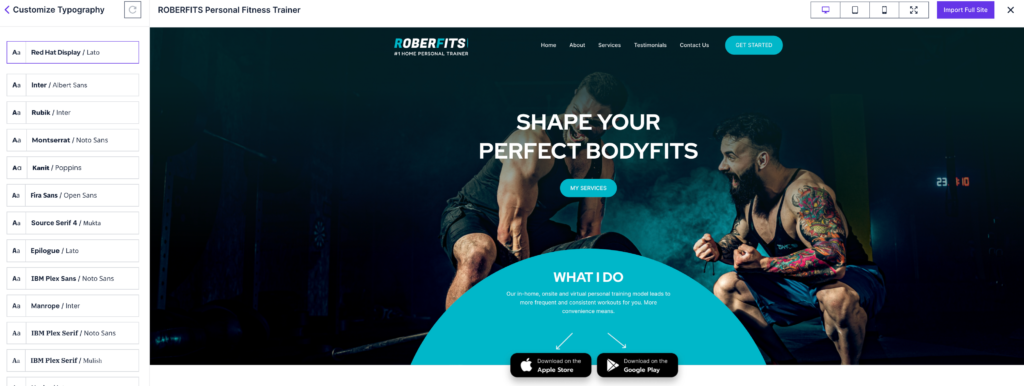
After choosing the color, customize the typography of the template. There are different font styles available to select.
When you are done customizing, you can import the templates by clicking on the “Import Full Site” button. This action will prompt some advanced options, such as deleting previously imported content and importing customizer settings, among others.
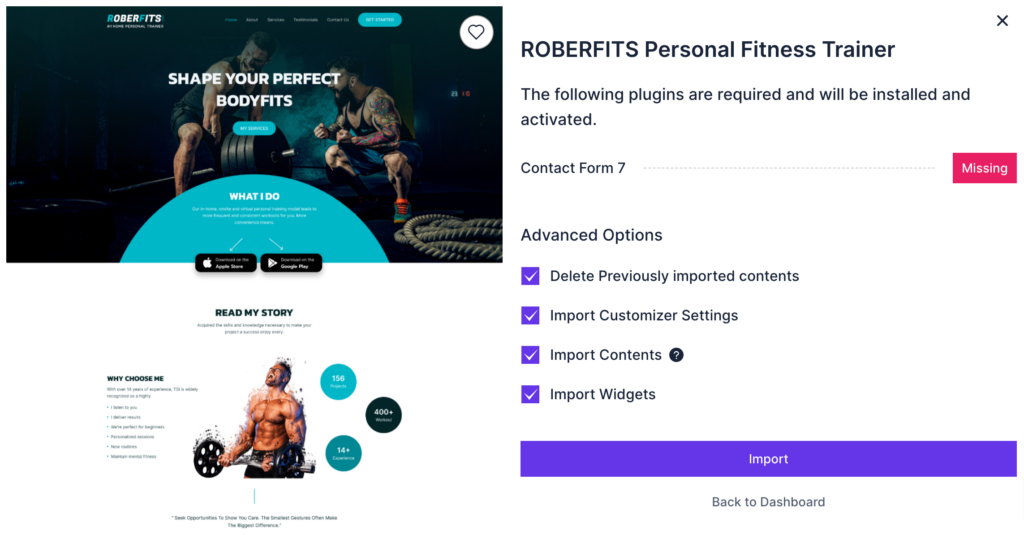
Click on the Import button and it will import to the full template with all the customization you made.
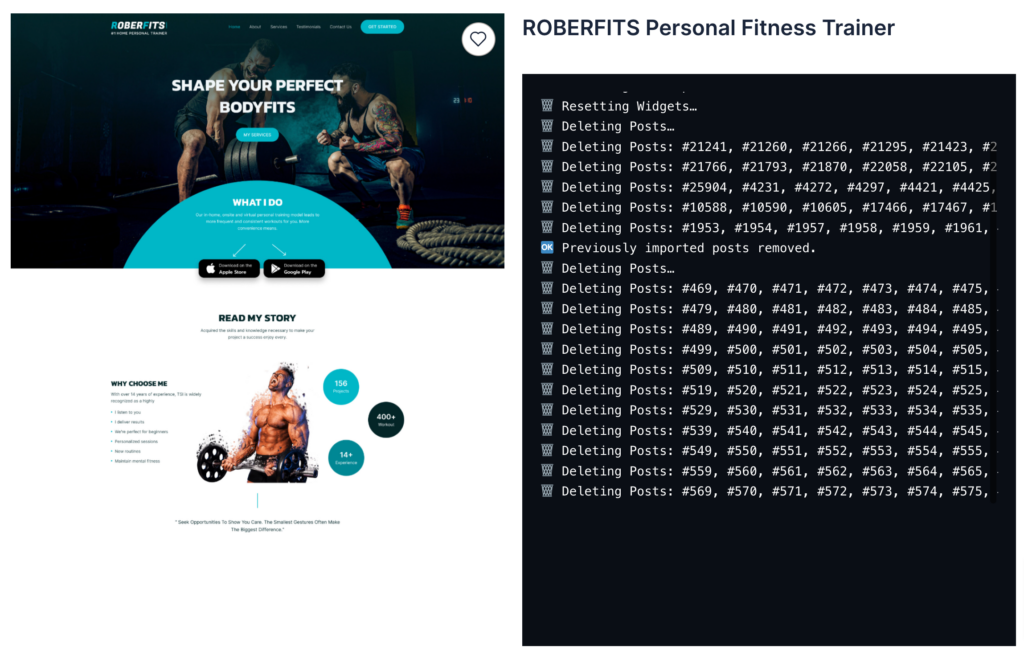
This will import the full template now you need to customize the theme and change the content according to your need.
Customize theme
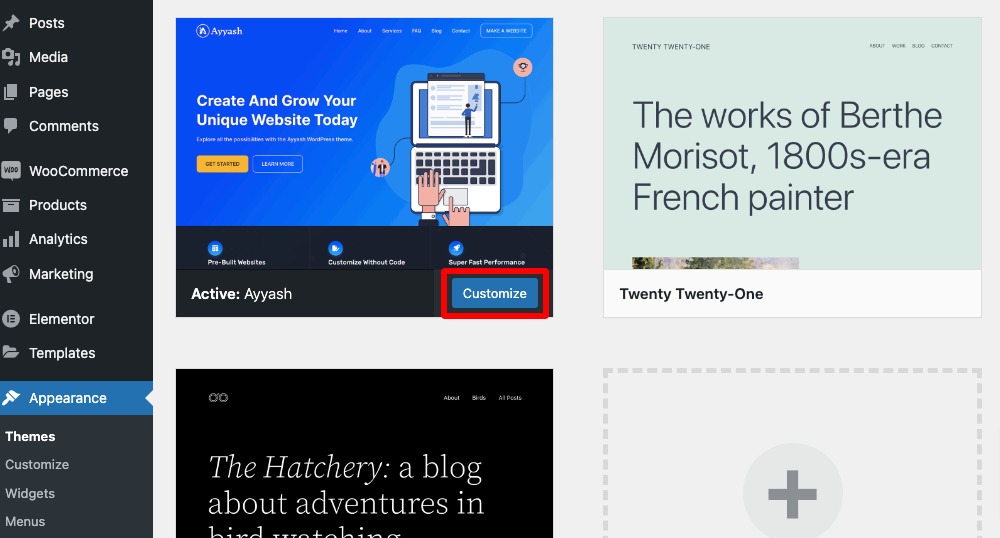
Ayyash theme offers you huge customization features and functionalities. You can customize each and everything according to your demand. To customize the theme navigate to Appearance > Theme > Customize.
Here on the customization page, you will see different customization menus like –
- General
- Layout
- Colors
- Typography
- Header Image
- Menus
- Widgets
General
Here in the General setting option, you will find the following option:
- Site identity – Set your website title and tagline
- Social profile – Add your social profile link
- Sticky posts – Add a featured post
- Site configuration – Improve your site performance
- Homepage settings – Setup your homepage
Layout
Here in layout customization, you can set the layout for –
- Global
- Hader
- Title bar
- Blog (Post page)
- Archive
- Search results
- Single post
- Single page
- Footer top
- Footer
Colors
Customize your website color from the color settings options. Here you will find a color setting for –
- Global
- Header
- Main menu
- Title container
- Top Footer
- Main Footer
- Bottom Footer
- Secondary Footer
Typography
From the typography option, you can set the typography of the following section-
- Global
- Site title & tagline
- Text heading
- Main menu
- Site title & tagline
- Sidebar
- Footer
Header Image
You can add your website’s header image from here. Click “Add new image” to upload an image file from your computer. You’ll be able to crop your image once you upload it for a perfect fit.
Menus
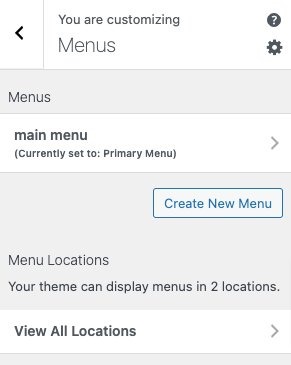
You can create a menu, assign it a location, and add menu items like links to pages and categories. If your theme has multiple menu areas, you might need to create more than one.
Click on the Create New Menu button to create a menu.
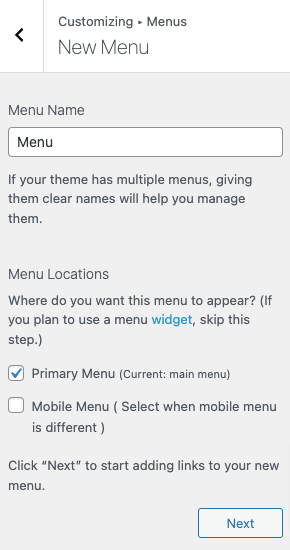
Now add a menu name when your theme has multiple menus, giving them clear names will help you manage them. After that choose the menu location where you want to add the menu then click on the Next button.
Now your menu is created and you need to add some items to it. To add items click on the Add Items button.

The menu item list will open up, just click on any item to add it to your created menu. After creating your menu and adding the menu items you can reorder the menu items by using the drag-and-drop features. You can rearrange the menu and submenu items too.
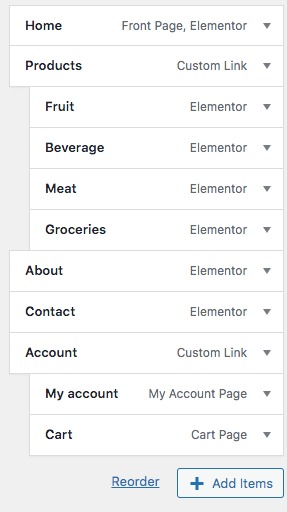
Don’t forget to click on the publish button to save the changes.
Widgets
You can navigate to other pages on your site while using Customizer to view and edit the widgets displayed on those pages.
From here you can add widgets to the following section –
- Main Sidebar
- Footer Widget
How to add a widget
To add a widget click any of the sections and then click on the Add Widget button.
The widget list will show up. From the search bar, you can search for any available widget. Just click on the widgets you want to add and they will be added to the section.
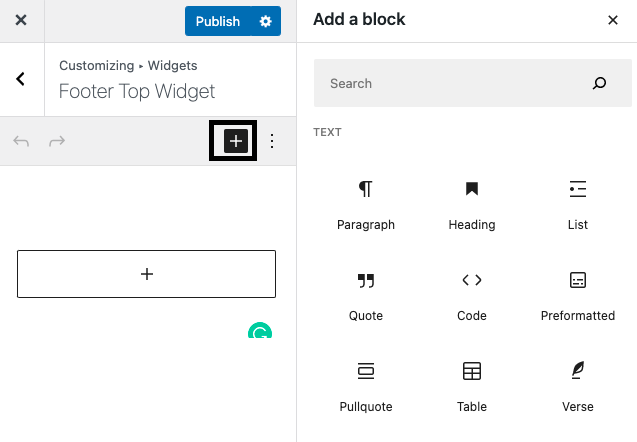
Your selected widget is added to the section. Now you can add a title and set some options to the widget. Click on the Done button to save the changes.
Replace content
When you have done customizing your website, now it’s time to replace the content of the template you have imported. First, You need to realign the section by clicking on the 6 dot icon and you can drag and drop any section. You can select and replace a section in another section just using drag and drop features.
If you want to delete any section just click on the X button. When you accidentally delete any selection you can restore it by clicking ctrl+Z.

To change the text click any text where you want to edit and from the left panel add your own text.
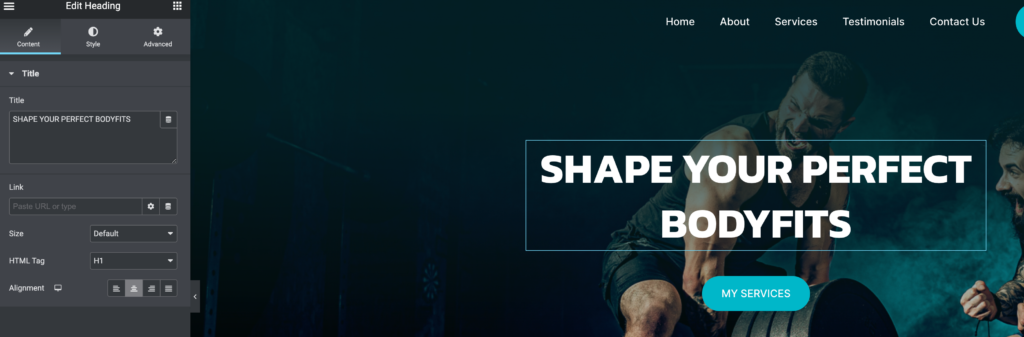
Following the same process, you can change the image of the templates. Click any of the images and from the control panel upload or choose your image.

If you want to change the background color, and text color then just need to select the section, and from the left column press the style tab. Also from the advanced tab, you can also do some advanced tasks too.
That’s it your fitness trainee website is fully ready to launch.
Wrapping Up
Here in this article, you can see that it’s pretty easy to create a fitness trainee website using only free tools. You have to pay only for the domain and hosting. Apart from that, you can do everything completely free.
You can see our other articles to learn How to create a travel blog website using free tools
If the article helps you please subscribe to our newsletter to get more exciting articles.