How to create a Digital Agency website with Elementor
Are you looking for a way to create a Digital Agency website?
To gain success in your online business you need to showcase your products and services in a very beautiful and unique way so that it can easily attract buyers. To showcase your products in an organized way you need to have an interactive website.
For a digital agency, it is a must to have a unique website that focuses on your products and services. With your website, you can promote your products and it makes it easier for customers to purchase them. On the other hand, you can also communicate with your customers through your website and increase your customer’s engagement. This will help you to turn your visitors into your customers.
For this, you need to have an interactive, informative, and eye-catchy website to promote your products on different social platforms.
Here in this article, we will guide you to the easiest way to create a Digital Agency website using the Elementor page builder.
Create a Digital Agency website with Elementor
Creating a website from scratch needs a huge amount of time and effort. It also costs you more energy and money. But if you are choosing a premade template then you can easily create your website as well as showcase and promote your products. Using the Ayyash WordPress theme and its premade template you can easily create any website within a few clicks. You just need to modify the content.
Install the Ayyash theme and Ayyash Studio plugin
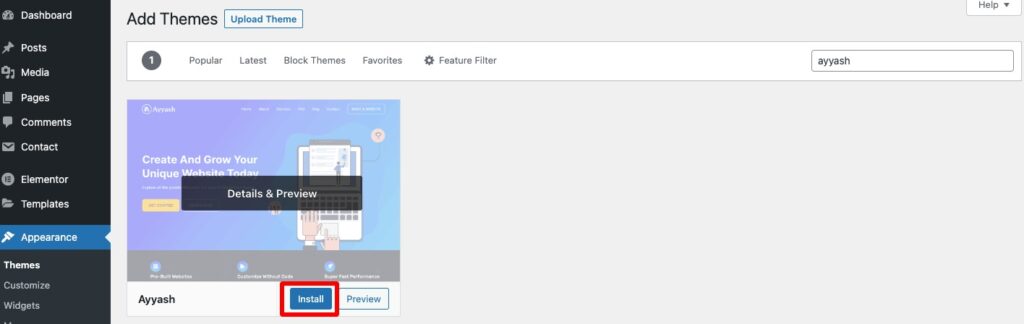
Installing the Ayyash WordPress theme is quite easy and straightforward. Login to your WordPress admin dashboard, navigate Appearance > Themes > Add New, and search for the Ayyash theme. Install and activate the theme.
After successfully activating the Ayyash theme, move to the Ayyash Option page. Now install and activate the Ayyash Studio plugin.
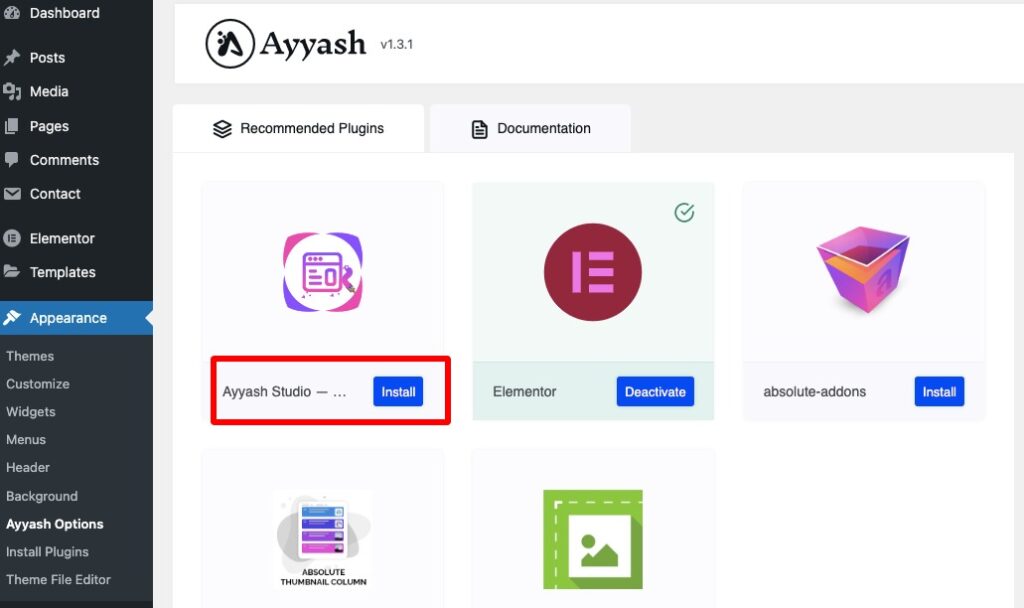
After activating the Ayyash Studio plugin navigate to the Ayyash Studio page to import a ready-made template. Here you can see a bunch of ready-made templates which support the Elementor page builder. Other page builder support will be coming soon.
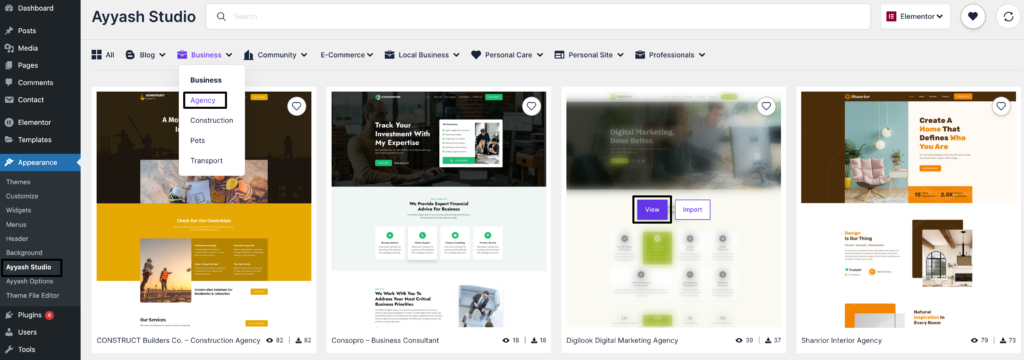
You can browse all the templates or for your digital agency website select Business > Agency filters. There are different ready-made templates available for an agency website. For your digital agency website, you can use the Digilook Digital Marketing Agency template.
Click on the View button to see the demo of the template you want.
Homepage
Digilook homepage will showcase your services, portfolio, products, working process, client’s review, FAQ section and many more. All the content will display with interactive segments, animated widgets, and captivating scrolling effects throughout your website.
you can enhance its visual appeal, structure, and interactivity for your audience. This can contribute to creating an aesthetically pleasing and engaging online presence.
About Us
The about us page will share your mission, vision, and journey as well as your future plan too. All these will show in a creative way with the scrolling effect so that it can attract buyers easily.
Service page
Here on the service page all your services and a detailed description will be displayed properly. With these inventive sections, you can provide your clients with a comprehensive understanding of the services your digital agency offers.
Now you can view the demo and customize the template to see how it looks. First, you can upload your own logo and set the logo width.
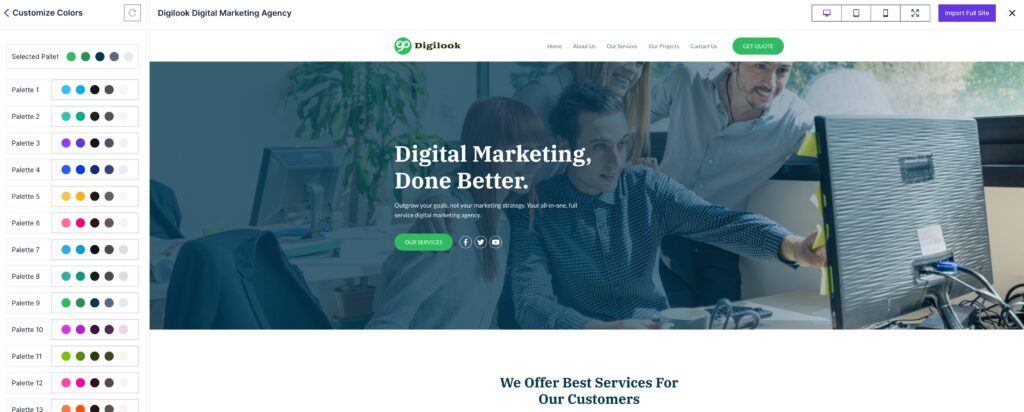
After that, you can customize the color of the template. There are fifteen color palettes available. You can choose any color that suits your brand.
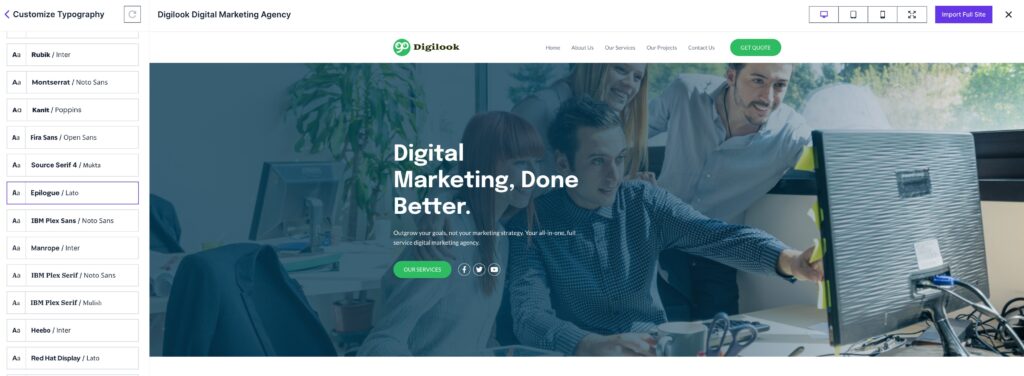
After choosing the color, customize the typography of the template. There are different font styles available to select.
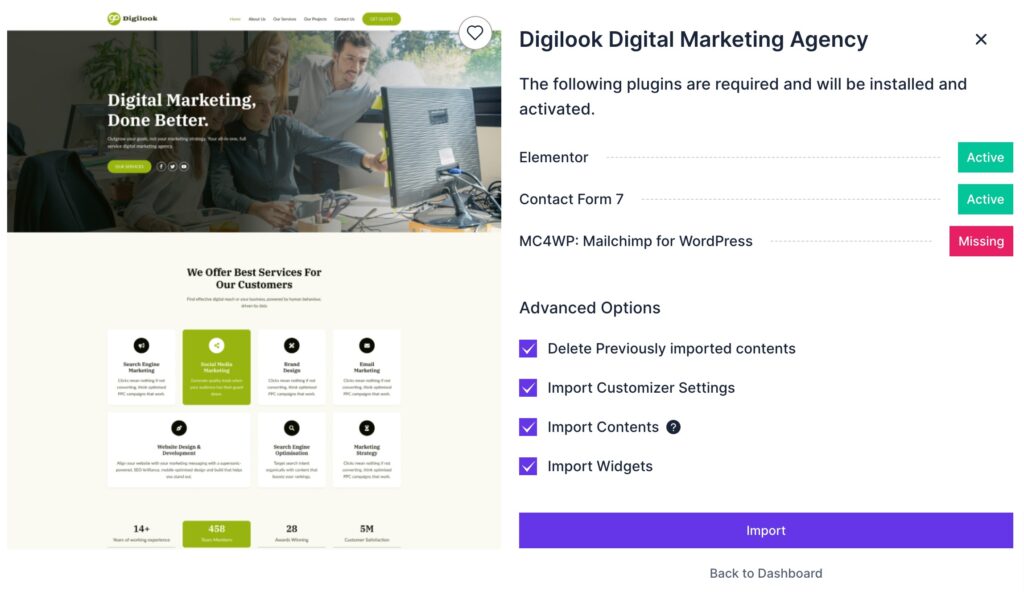
When you are done customizing, you can import the templates by clicking on the “Import Full Site” button. This action will prompt some advanced options, such as deleting previously imported content and importing customizer settings, among others.
Click on the Import button and it will import to the full template with all the customization you made.
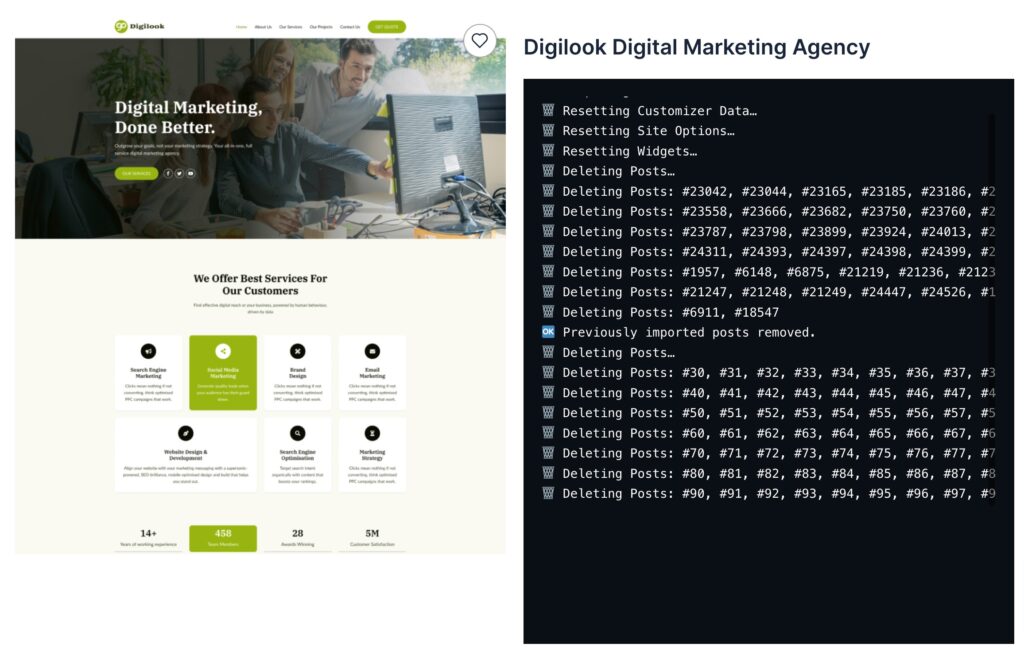
This will import the full template now you need to customize the theme and change the content according to your need.
Customize theme
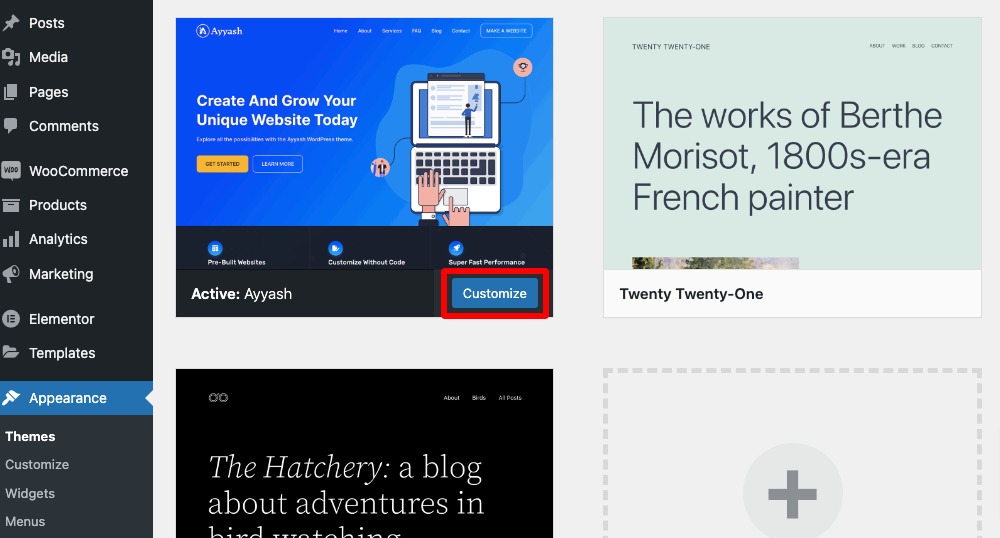
Ayyash theme offers you huge customization features and functionalities. You can customize each and everything according to your demand. To customize the theme navigate to Appearance > Theme > Customize.
Here on the customization page, you will see different customization menus like –
- General
- Layout
- Colors
- Typography
- Header Image
- Menus
- Widgets
General
Here in the General setting option, you will find the following option:
- Site identity – Set your website title and tagline
- Social profile – Add your social profile link
- Sticky posts – Add a featured post
- Site configuration – Improve your site performance
- Homepage settings – Setup your homepage
Layout
Here in layout customization, you can set the layout for –
- Global
- Hader
- Title bar
- Blog (Post page)
- Archive
- Search results
- Single post
- Single page
- Footer top
- Footer
Colors
Customize your website color from the color settings options. Here you will find a color setting for –
- Global
- Header
- Main menu
- Title container
- Top Footer
- Main Footer
- Bottom Footer
- Secondary Footer
Typography
From the typography option, you can set the typography of the following section-
- Global
- Site title & tagline
- Text heading
- Main menu
- Site title & tagline
- Sidebar
- Footer
Header Image
You can add your website’s header image from here. Click “Add new image” to upload an image file from your computer. You’ll be able to crop your image once you upload it for a perfect fit.
Menus
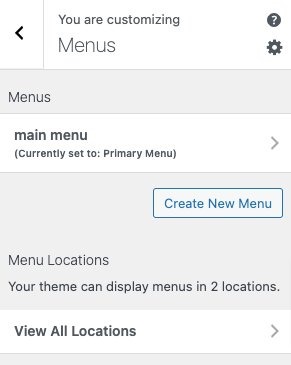
You can create a menu, assign it a location, and add menu items like links to pages and categories. If your theme has multiple menu areas, you might need to create more than one.
Click on the Create New Menu button to create a menu.
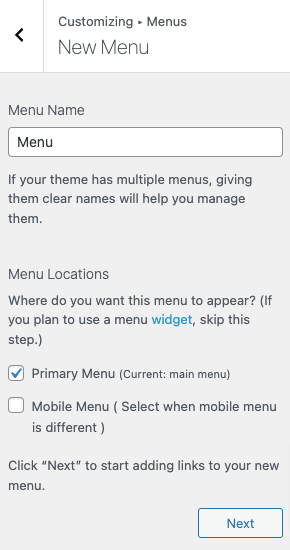
Now add a menu name when your theme has multiple menus, giving them clear names will help you manage them. After that choose the menu location where you want to add the menu then click on the Next button.
Now your menu is created and you need to add some items to it. To add items click on the Add Items button.

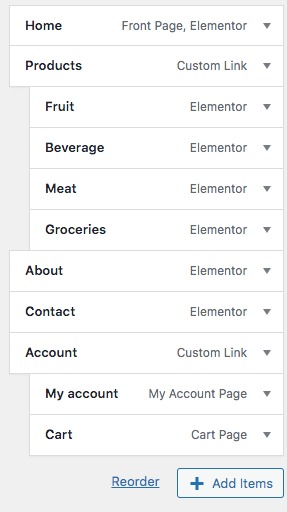
The menu item list will open up, just click on any item to add it to your created menu. After creating your menu and adding the menu items you can reorder the menu items by using the drag-and-drop features. You can rearrange the menu and submenu items too.
Don’t forget to click on the publish button to save the changes.
Widgets
You can navigate to other pages on your site while using Customizer to view and edit the widgets displayed on those pages.
From here you can add widgets to the following section –
- Main Sidebar
- Footer Widget
How to add a widget
To add a widget click any of the sections and then click on the Add Widget button.
The widget list will show up. From the search bar, you can search for any available widget. Just click on the widgets you want to add and they will be added to the section.
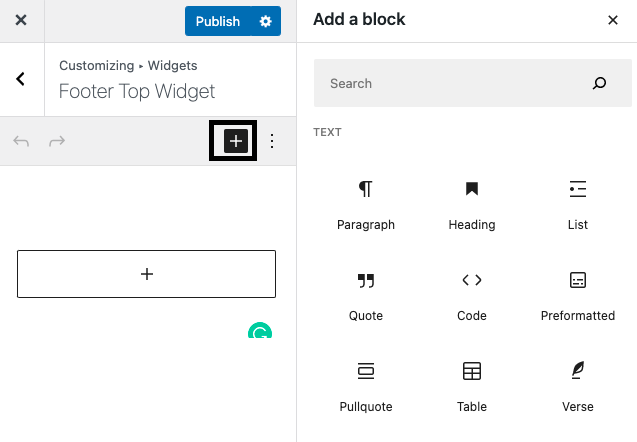
Your selected widget is added to the section. Now you can add a title and set some options to the widget. Click on the Done button to save the changes.
Replace content
When you have done customizing your website, now it’s time to replace the content of the template you have imported. First, You need to realign the section by clicking on the 6 dot icon and you can drag and drop any section. You can select and replace a section in another section just using drag and drop features.
If you want to delete any section just click on the X button. When you accidentally delete any selection you can restore it by clicking ctrl+Z.
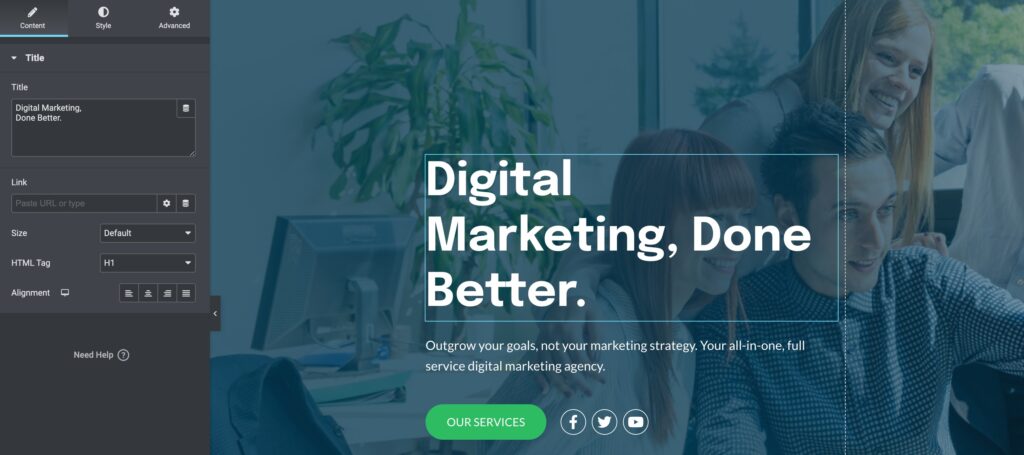
To change the text click any text where you want to edit and from the left panel add your own text.
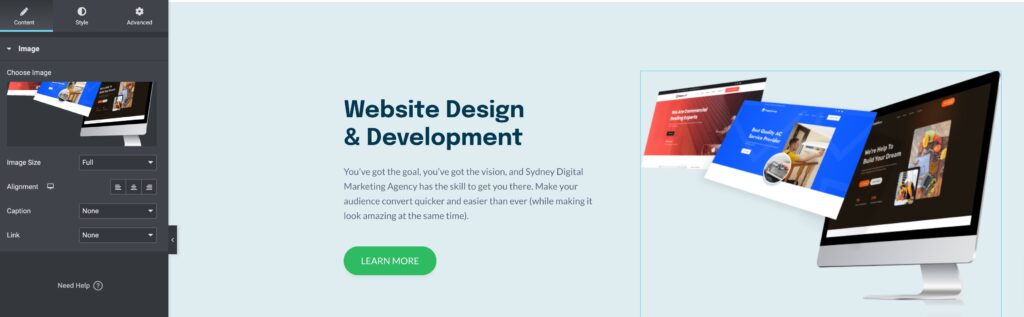
Following the same process, you can change the image of the templates. Click any of the images and from the control panel upload or choose your image.
If you want to change the background color, and text color then just need to select the section, and from the left column press the style tab. Also from the advanced tab, you can also do some advanced tasks too.
That’s it your fitness trainee website is fully ready to launch.
Wrapping Up
Here in this article, you can see that it’s pretty easy to create a fitness trainee website using only free tools. You have to pay only for the domain and hosting. Apart from that, you can do everything completely free.
You can see our other articles to learn How to create a travel blog website using free tools
How to create a fitness trainee website: Step-by-step tutorial
If the article helps you please subscribe to our newsletter to get more exciting articles. Please follow our Facebook page to stay connected